Beginner’s Guide to Walk Cycle Animation in Maya
Hey there, fellow animators! Let’s talk about that glorious, yet oh-so-tricky beast: the walk cycle. You know the drill: a character takes a step, then another, and somehow, magic happens (or at least it should). But for many beginners, animating a convincing walk feels like trying to teach a giraffe to tap dance.It’s one of the first hurdles in any Maya animation tutorial for beginners, and yes—it can feel like trying to teach a giraffe to tap dance.
Fear not, my friends! This blog will guide you through the treacherous terrain of walk cycle animation in Maya, armed with humor, helpful hints, and maybe a little bit of caffeine.
What Is a Walk Cycle Animation?
A walk cycle is a repeating series of poses that simulate a character walking. It’s essential for any 3D animation course because it helps animators understand motion, balance, and timing—fundamentals of any realistic animation.
1. The Holy Grail of References
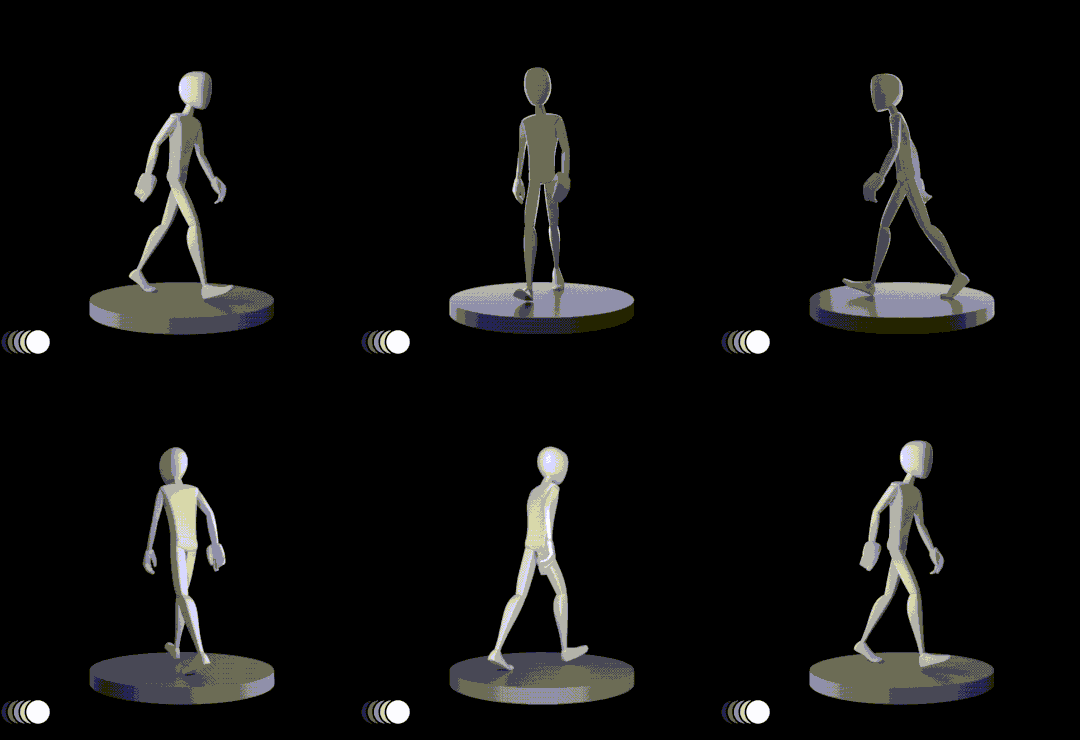
Before you even open Maya, you need to observe. Seriously, stalk your friends, family, pets – anyone who walks! Pay attention to the subtle shifts in weight, the swing of arms, the subtle bounce in their step. YouTube is your friend here. Search for “walk cycle reference” and prepare to be overwhelmed.
Pro Tip: Don’t just watch. Analyze. Break down the walk into its core components:
Contact: The foot hits the ground. Imagine the impact, the slight compression of the body.
Passing: The weight shifts to the other foot. This is where the character’s momentum carries them forward.
Forward Swing: The leg swings forward, preparing for the next step.
2. Maya Mayhem: Setting the Stage
Now, let’s dive into Maya.
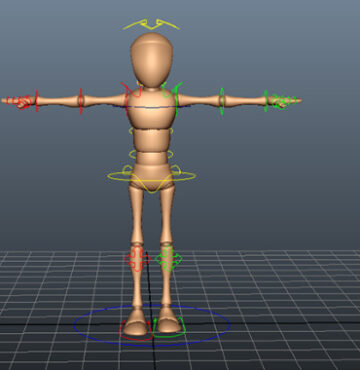
Skeleton Time: Create a basic skeleton for your character. Don’t overthink it at this stage. You just need the essentials: spine, legs, arms, head.
The Ground is Lava: Create a simple plane for your character to walk on. This will help you visualize the ground contact and keep your character grounded (pun intended).
3. The Challenging Art of Keyframing
This is where the real fun (and frustration) begins.
Start with the Hips: Begin by animating the hip movement. Think of it as a gentle rocking motion.
Leg It Out: Animate the leg movement, ensuring a smooth transition between contact, passing, and forward swing.
Arm Swing: Don’t forget the arms! They should swing naturally in opposition to the legs.
Head Bob: Add a subtle head bob to enhance the natural rhythm of the walk.
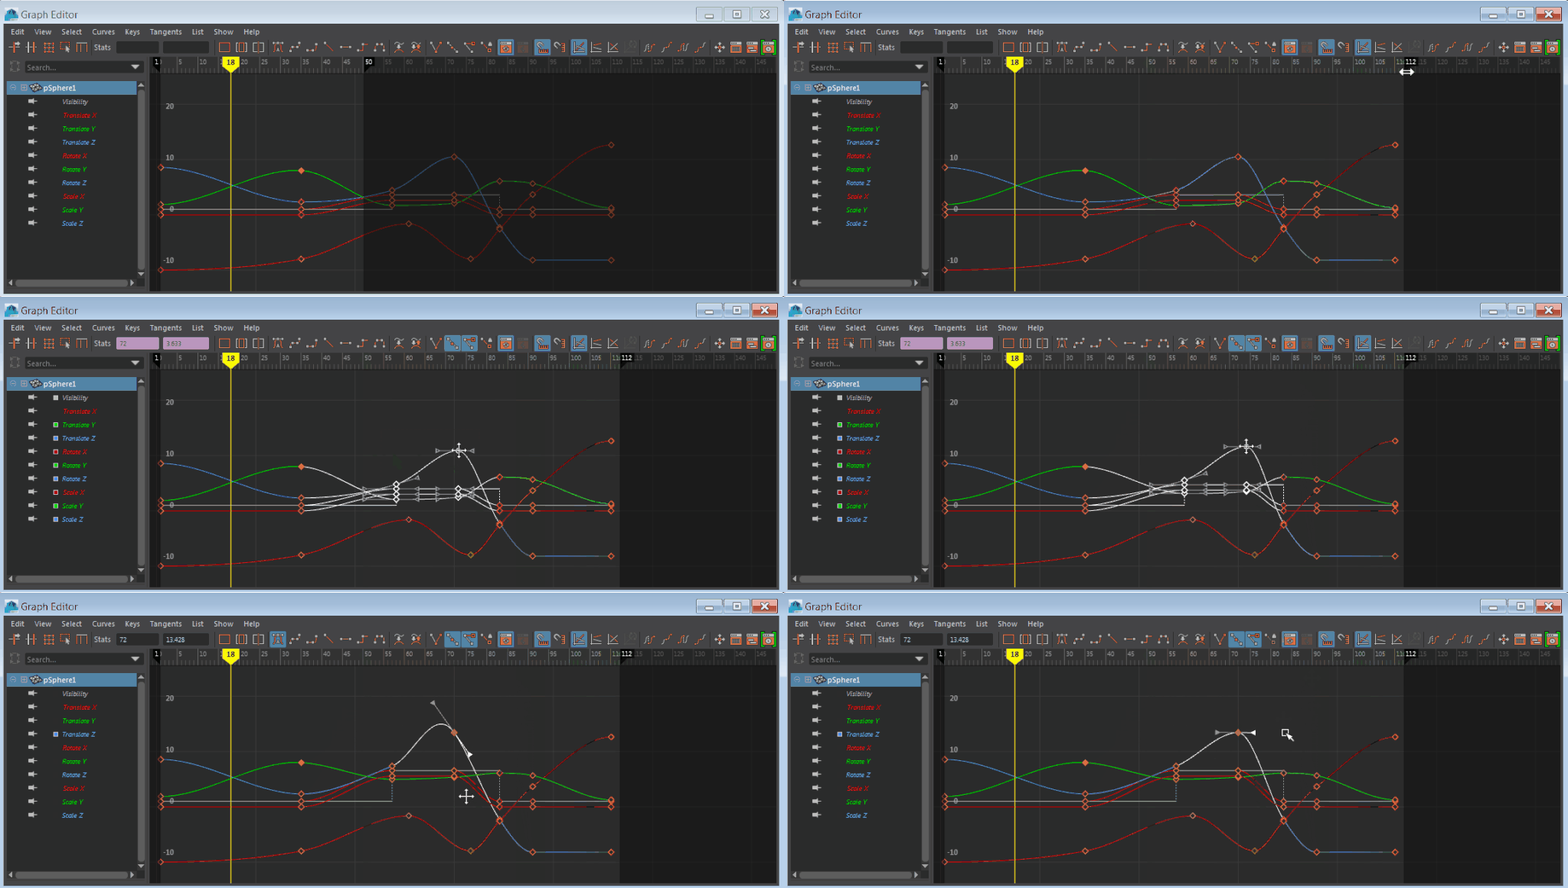
Pro Tip: Use the graph editor to fine-tune your animation curves. Smooth out any sudden jerks or unrealistic movements.
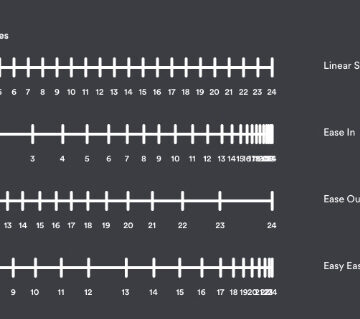
4. The Importance of Spacing
Spacing refers to the distance between your keyframes.
Consistent Spacing: Consistent spacing is crucial for a smooth, believable walk.
Varying Spacing: However, don’t be afraid to experiment with varying spacing to create different walking styles (e.g., a brisk walk, a tired shuffle).
5. Refine, Refine, Refine
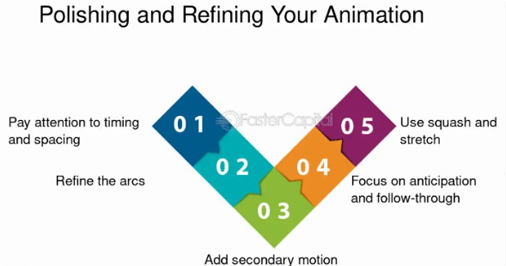
Once you have a basic walk cycle, it’s time for refinement.
Scrub through: Play your animation frame by frame and scrutinize every movement.
Get Feedback: Show your work to other animators. A fresh pair of eyes can often spot flaws you might have missed.
Don’t Give Up! Animating a convincing walk cycle takes time and patience. Don’t get discouraged if your first few attempts aren’t perfect.
Ethical Considerations for Educators
Final Thoughts
Animating a walk cycle is a challenging but rewarding experience. By following these tips and practicing diligently, you’ll be well on your way to creating believable and engaging character movement.
So, put on your walking shoes (figuratively, of course), open Maya, and let the animating begin!
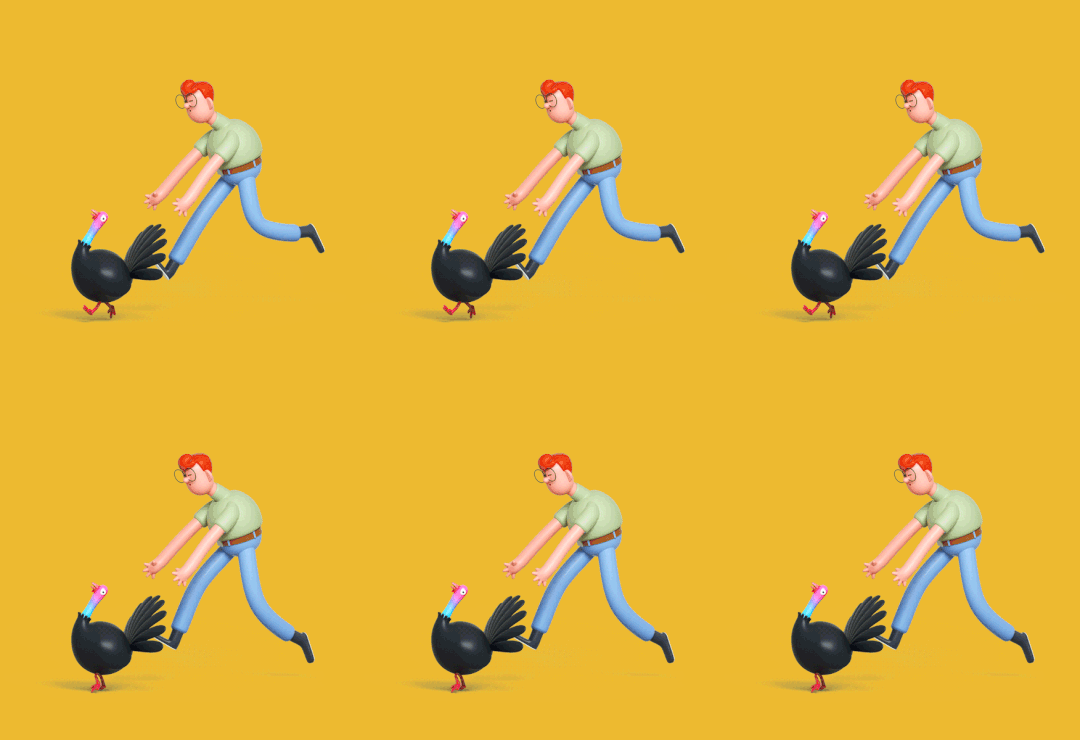
Image Courtesy: The Forgotten Art of Spacing. Revisiting the forgotten art of spacing… | by Lollypop Design | Muzli – Design Inspiration help.autodesk.com/view/MAYACRE/ENU/?guid=GUID-6D38EAEA-6032-471E-BD0E-54A74D4443C0 www.artstation.com/artwork/mqWq01 artstation.com/artwork/Jerxq0


